
Long Exposure Photography: UK Cities by Night
A few years ago I went for an evening of tuition on long exposure photography. My kit was fairly basic but as I was to find out, that didn’t and still doesn’t matter.
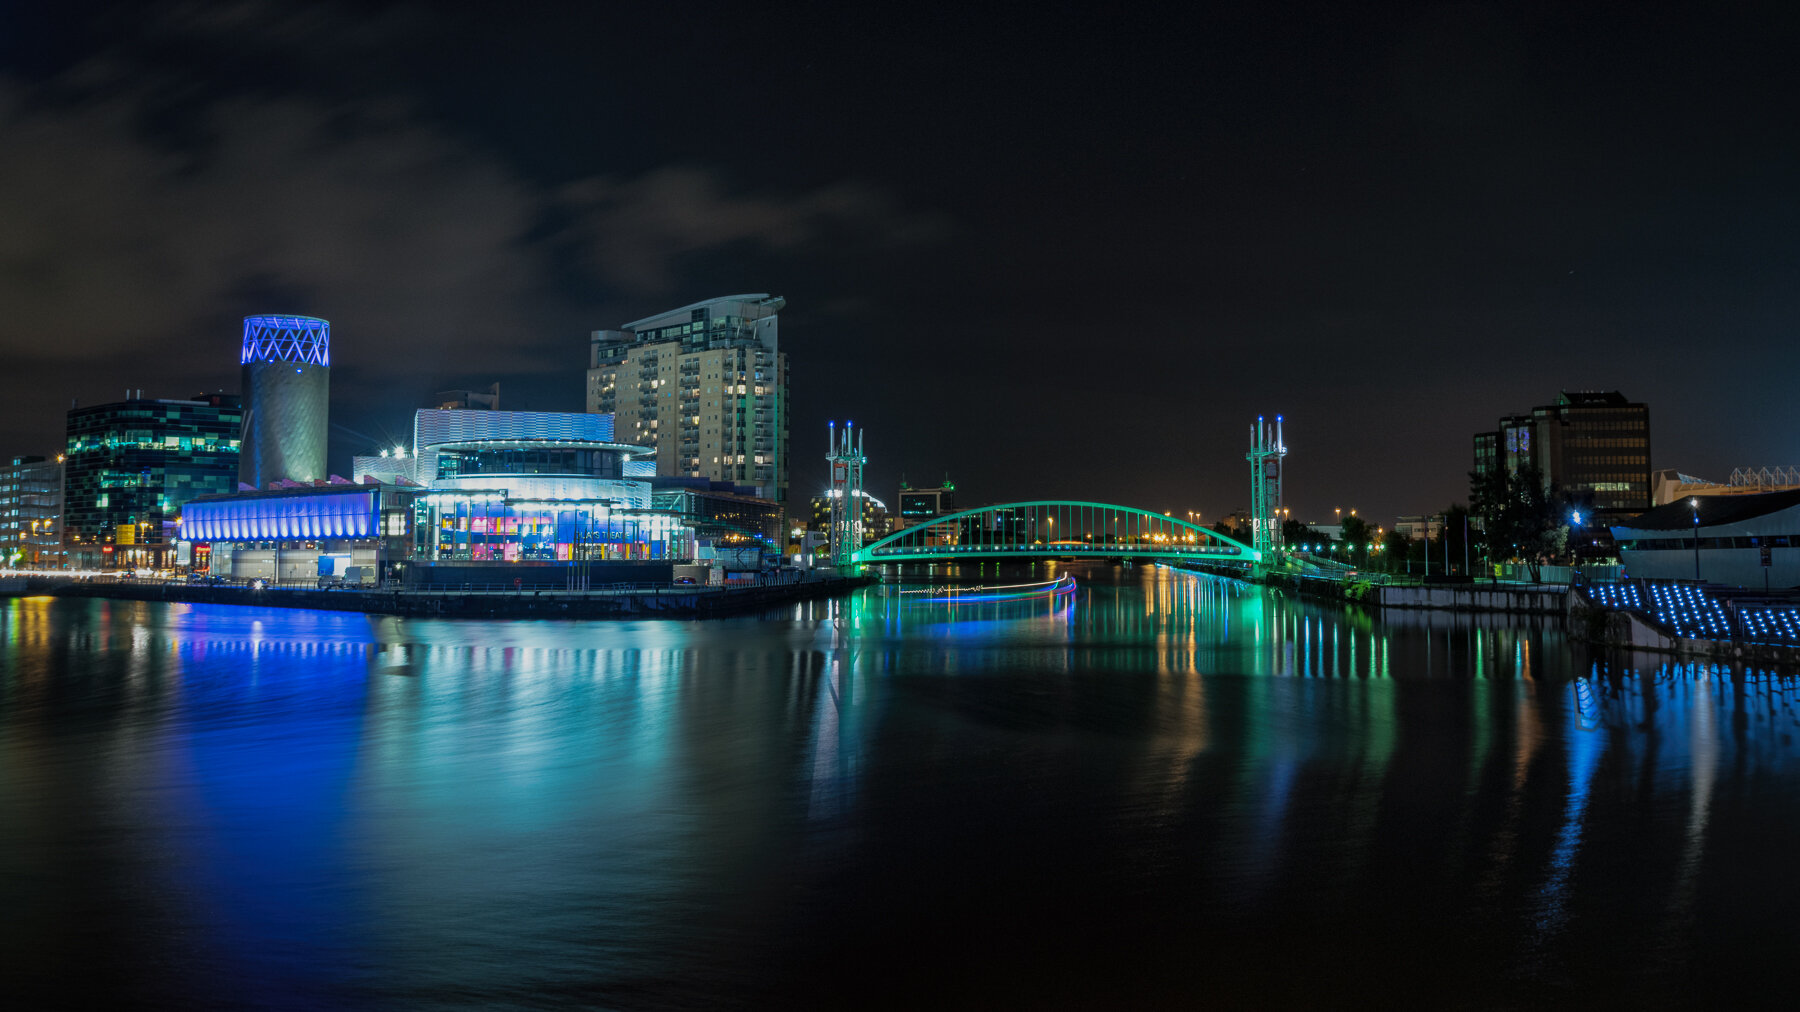
The group met at Media City in Manchester at around 8pm one November evening. In those days, football matches weren’t played behind closed doors and people could visit theatres, restaurants and bars. This meant that there were illuminated points of interest in every direction, with the added bonus of a central water course. During the evening, we touched on composition, capturing cloud movement, reflections and light trails. I came away from the session with a much bigger interest in, and understanding of, long exposure night time photography and a couple of images that I’m still proud of today.
Here’s one:

Manchester Media City looking towards the Lowry
ISO 100
20mm
f8
30.0 seconds
Since returning to the UK in December, I decided to take the opportunity to finally pull the plug on my time in the oil and gas industry and work on the qualifications needed for a transition to working in the renewables sector. This gave me a lot of scope for choosing courses in locations I wanted to visit for photography. Given education was one of the allowable reasons for travel, I decided on a trip to Newcastle for a couple of weeks of learning.
Having been to Newcastle a few years ago, I had in my mind a couple of images I wanted. Firstly I wanted to capture the Tyne Bridge at dawn and secondly the Gateshead Millenium Bridge at night. Leaving the Hotel at around 6 am, I headed down to the bridge to see what delights the morning held.
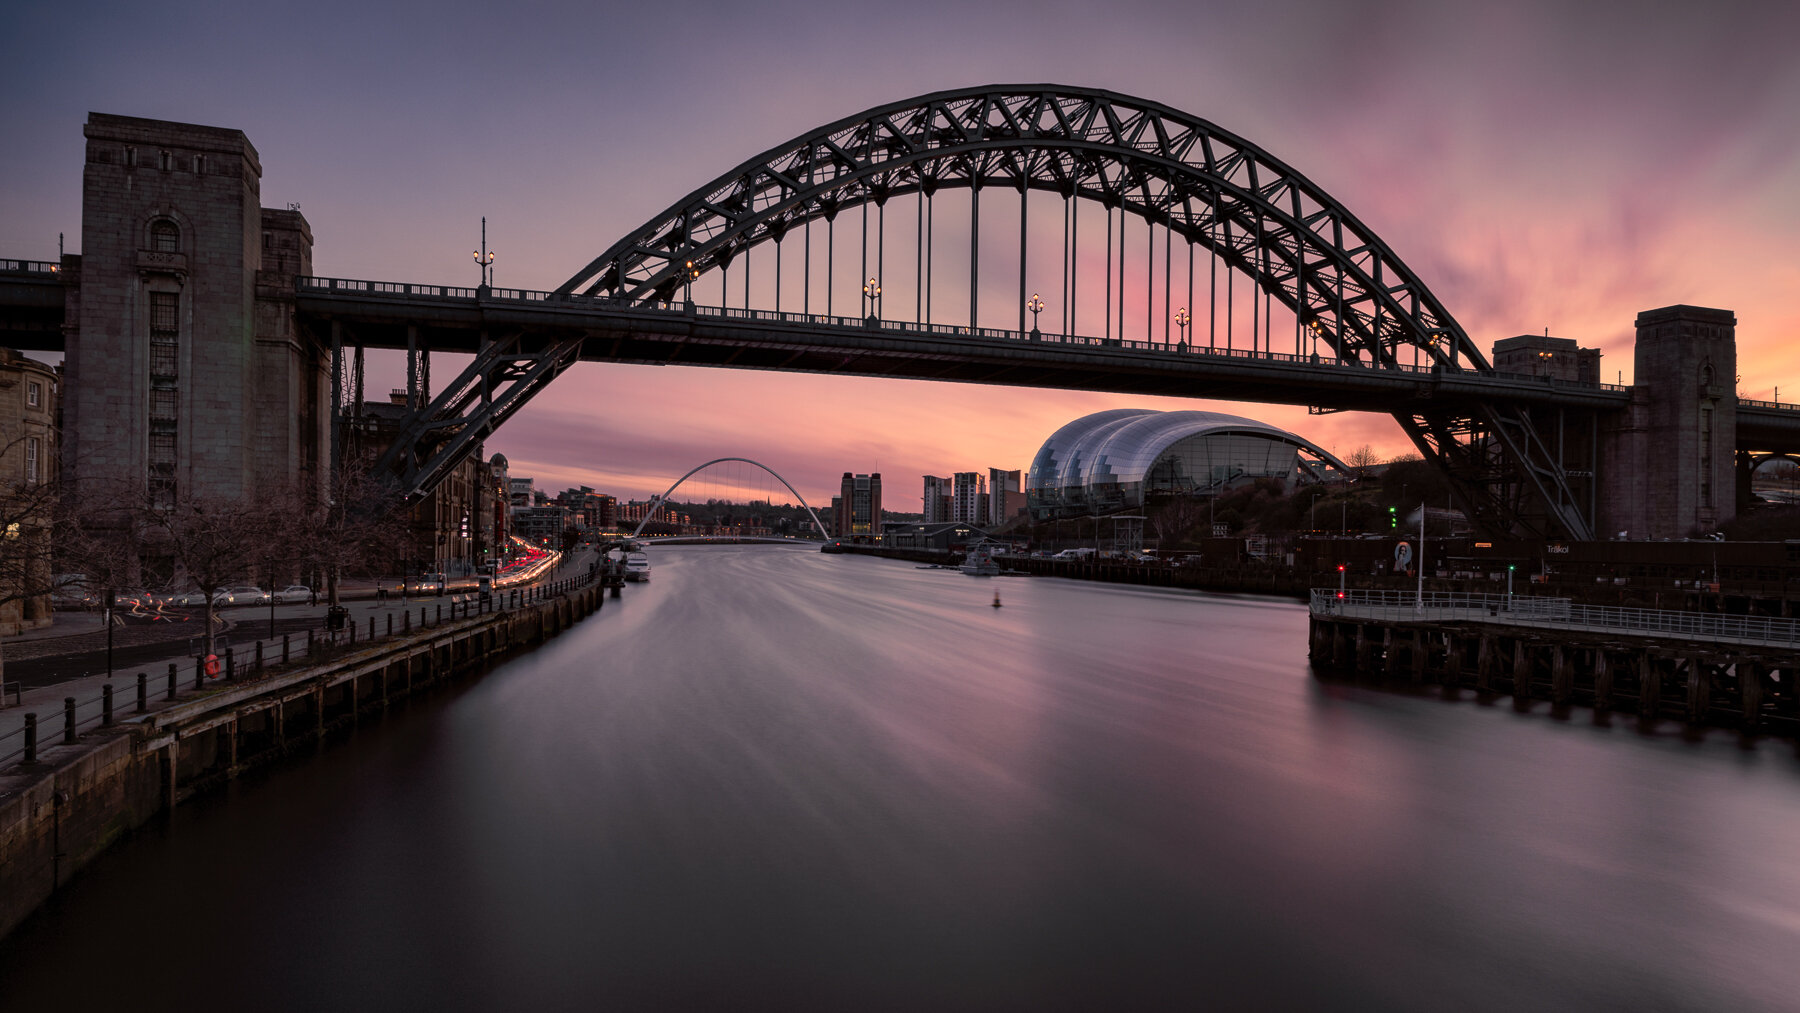
The first morning wasn’t a roaring success and the rain came. The sky cleared much later than expected but still, I managed to find a composition that I liked.
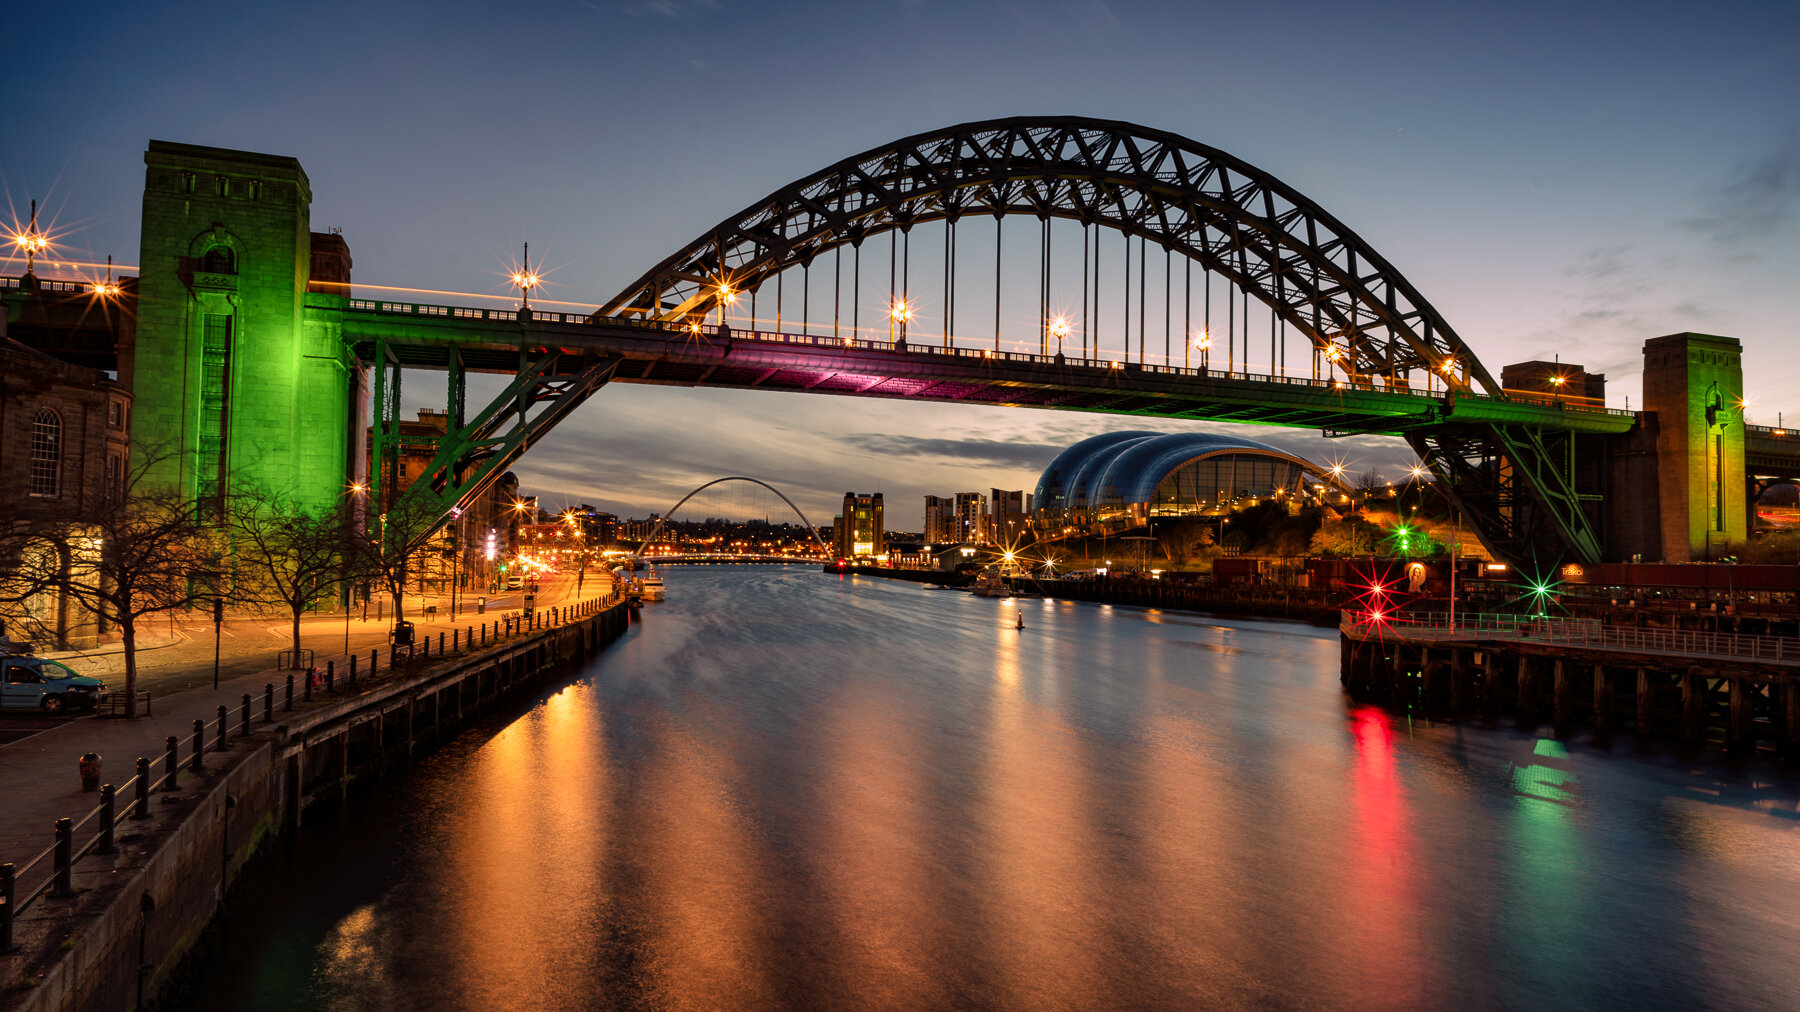
I tried again a couple of mornings later and was rewarded with a couple of images that I was really happy with. The first one was great as I managed to line my shot up as dawn was breaking and then all I needed to do was to wait for a bus to cross the bridge and hey presto, light trails too.
Here’s the link to the location if you want to go and check out the view yourself.

Tyne Bridge at dawn with light trails.
ISO 50
21mm
f11
30.0 seconds
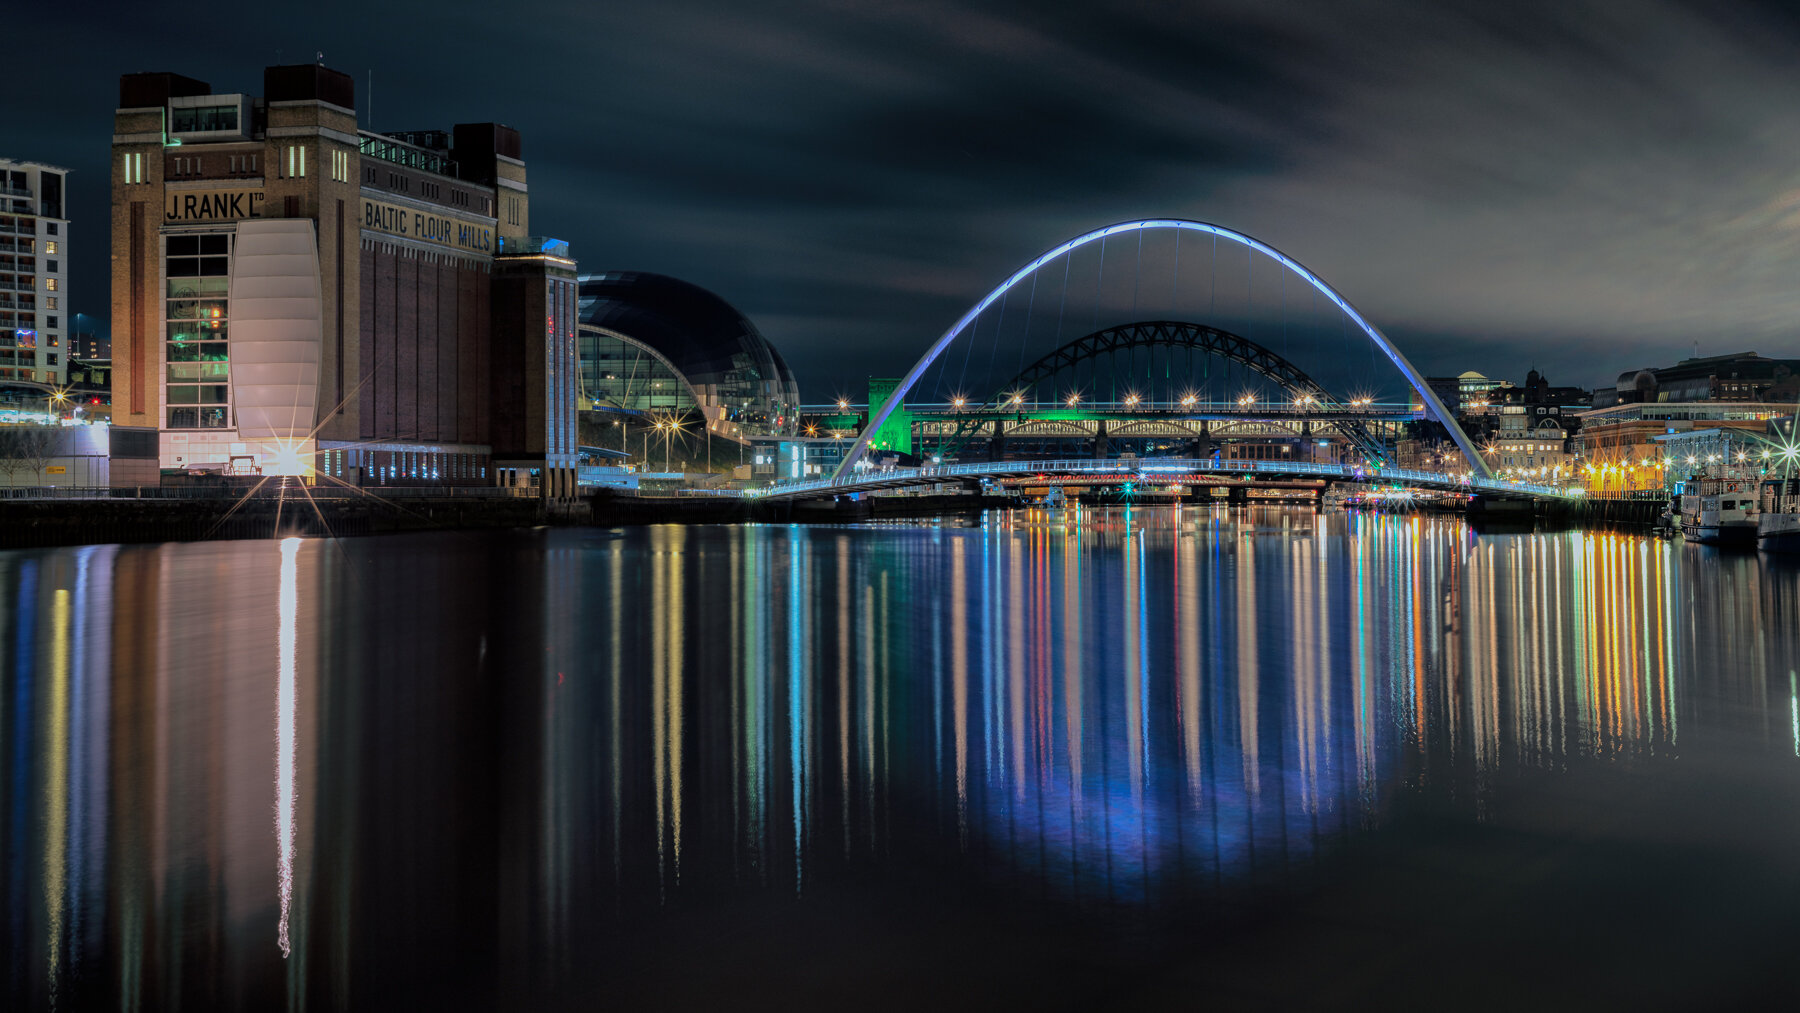
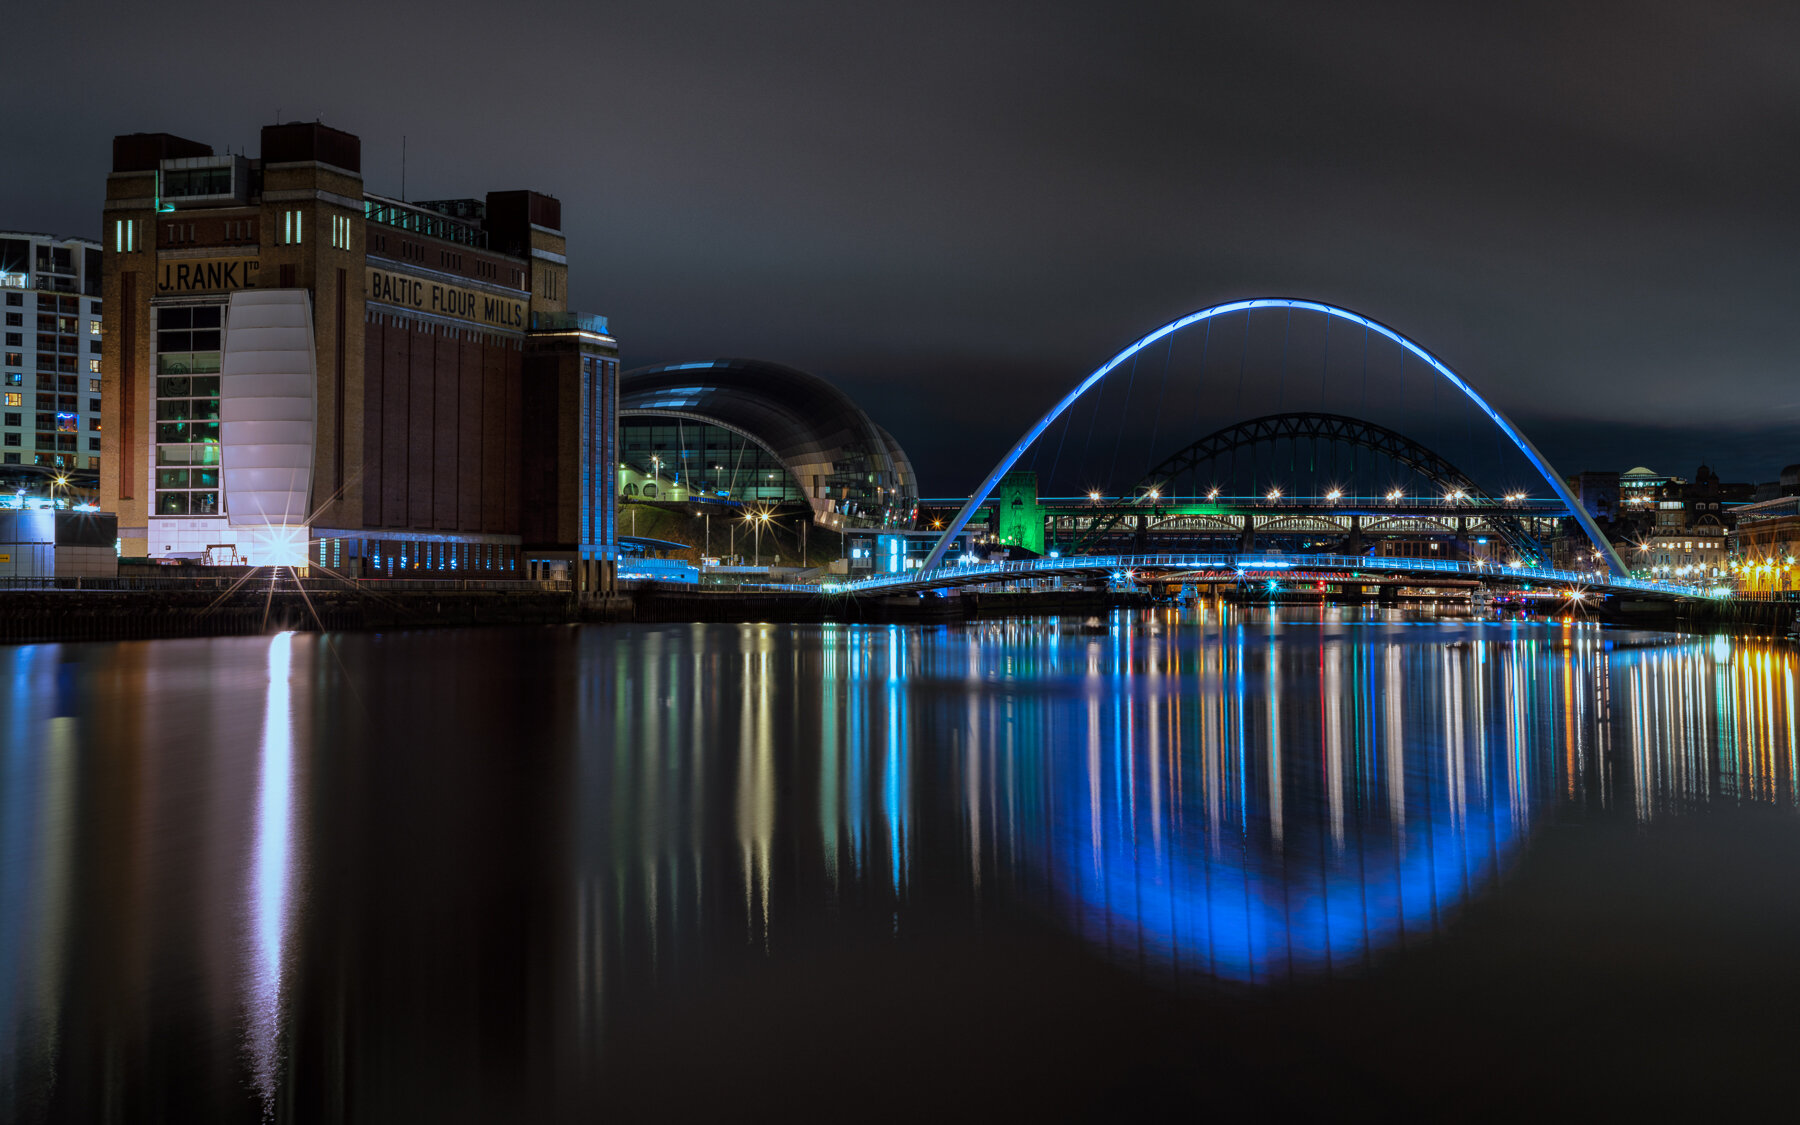
Having got what I wanted from the Tyne Bridge, I was keen to try my luck with the Millenium Bridge one evening. An afternoon spent walking around and composing my shot in the sun meant that all I needed to do was to wait for the weather to play ball and then I could head down once the people had vanished, allowing me an unobstructed view of the bridge. As luck would have it, the weather cleared up on my last evening and so I raced back down to the waterfront and set up. I spent maybe an hour at or around the same spot trying to get the reflections I wanted along with the right amount of cloud movement.
Again, I came away with a couple of images that I’m really pleased with. Below is one of them.

Gateshead Millennium Bridge Long Exposure
ISO 50
50mm
f14
90.0 seconds
A great app that I have been using a lot for helping to plan my timings at locations is https://www.photopills.com/ . It is a feature heavy app for all aspects of photography but I particularly like its ease of use for tracking where the sun will rise and set in relation to your location. It also gives timings for golden and blue hours and moon rise/set times.
A couple of weeks later and I found myself with a weekend of work in London. The weather forecast was perfect and using the PhotoPills app, I knew where the sun would be setting and at what time. This allowed me time to plan my shot in advance and work out roughly where I needed to be. I finished work early enough to find myself on the North bank of the Thames to the East of Tower Bridge, in time for a spectacular sunset.
Tower Bridge view location - Google Maps
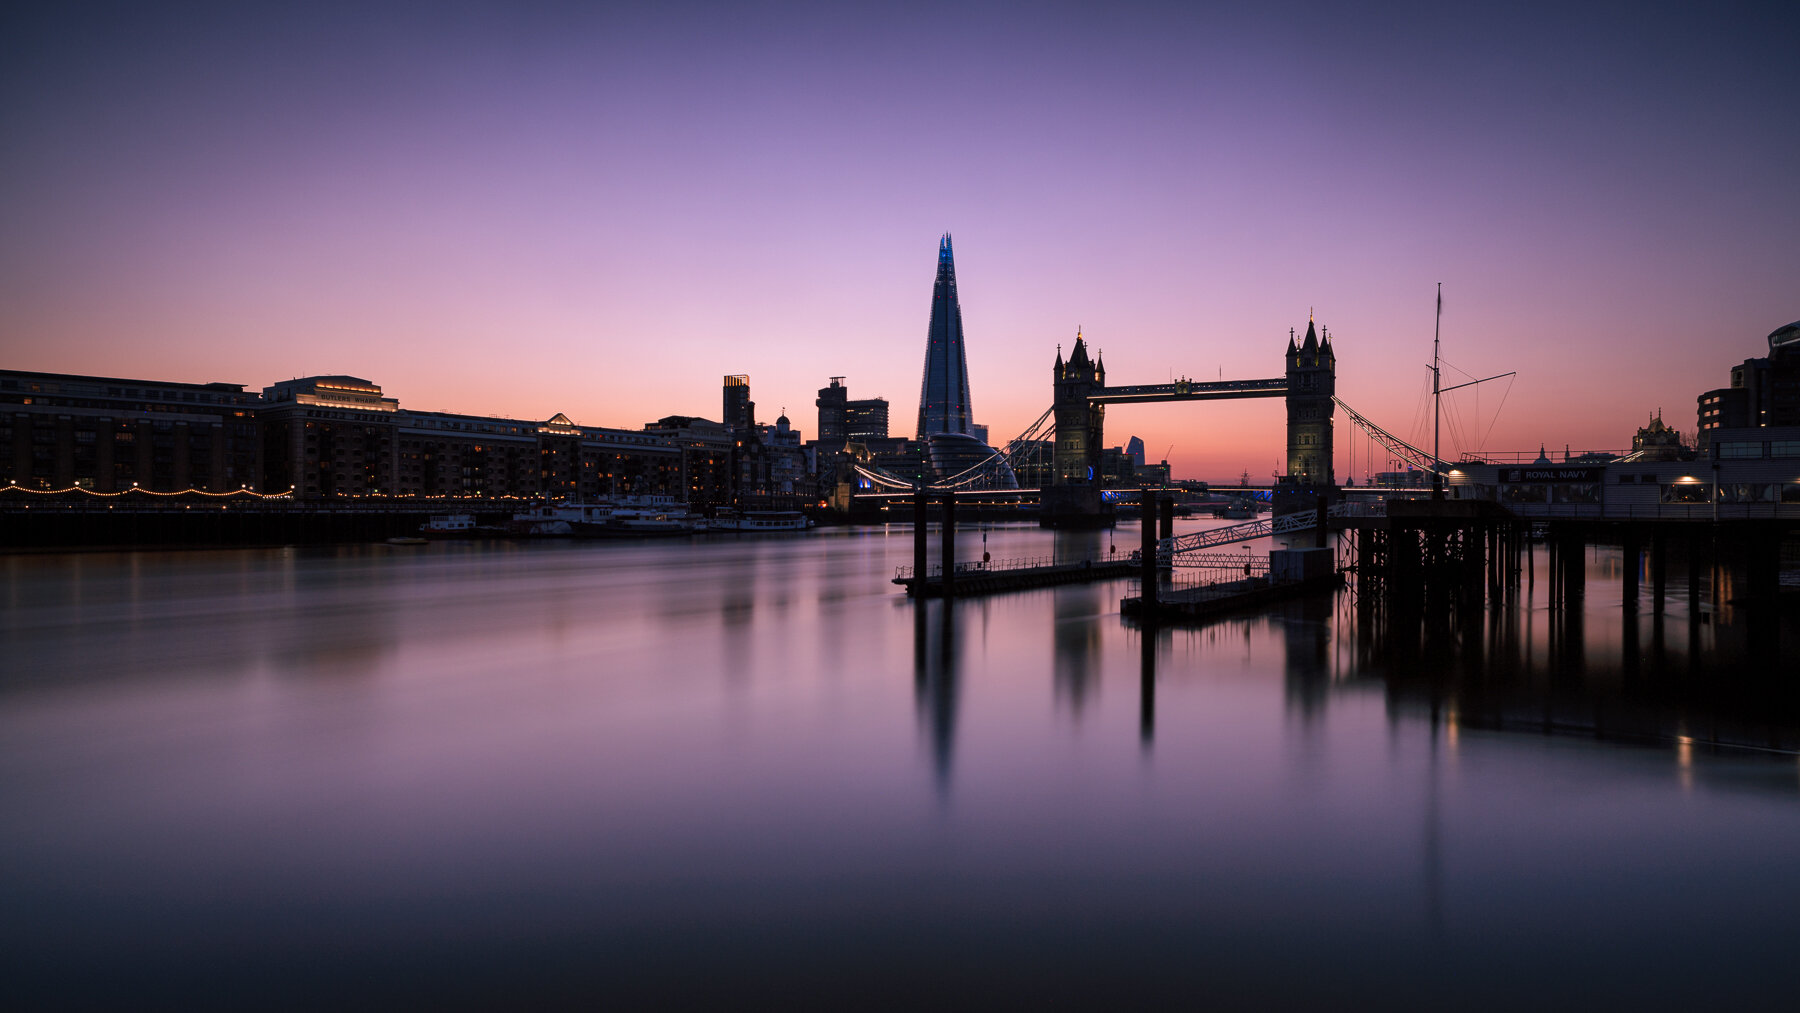
Here are a couple of images from the evening:

Looking SW towards Tower Bridge and the Shard at Sunset
ISO 50
21mm
f8
307.0 seconds
Lee Big Stopper

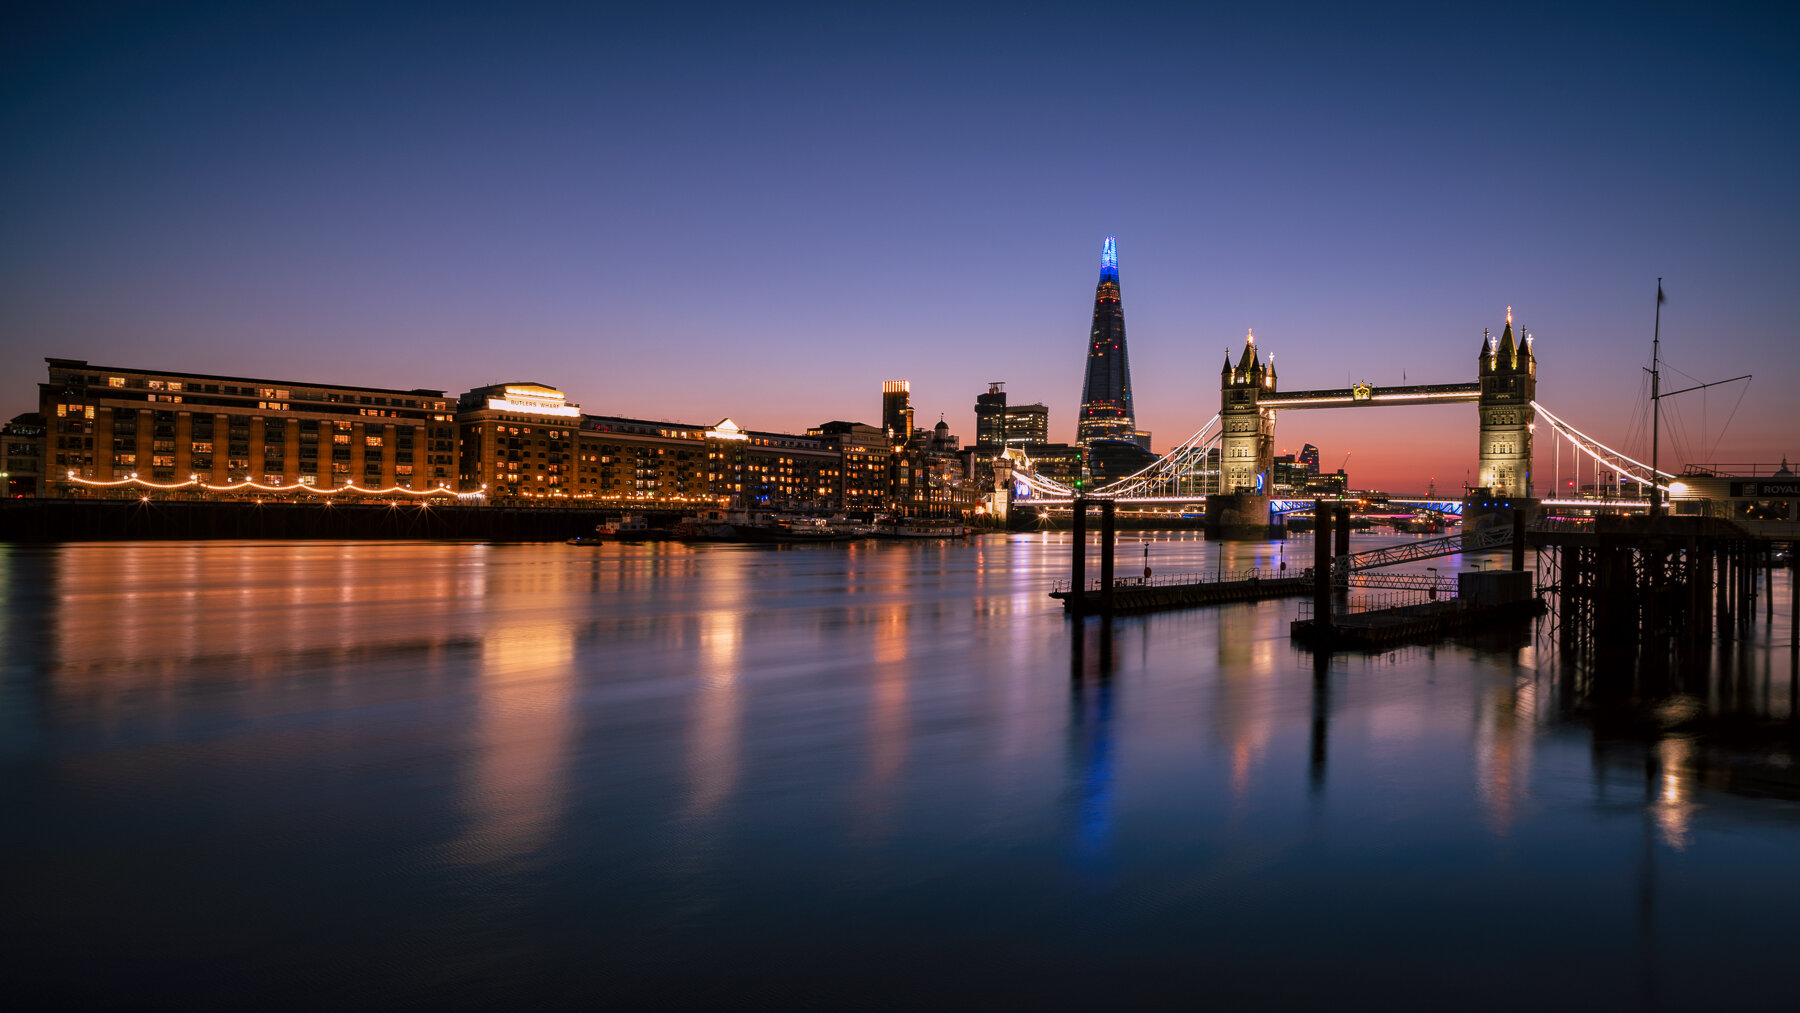
SW towards the Shard and Tower Bridge
ISO 50
21mm
f11
20.0 seconds
I think sometimes people are a little daunted by long exposure photography as it can all seem a little complicated, but it doesn’t have to be. A camera that has a manual function, a tripod/stable platform for your camera and some patience are really good starting points.
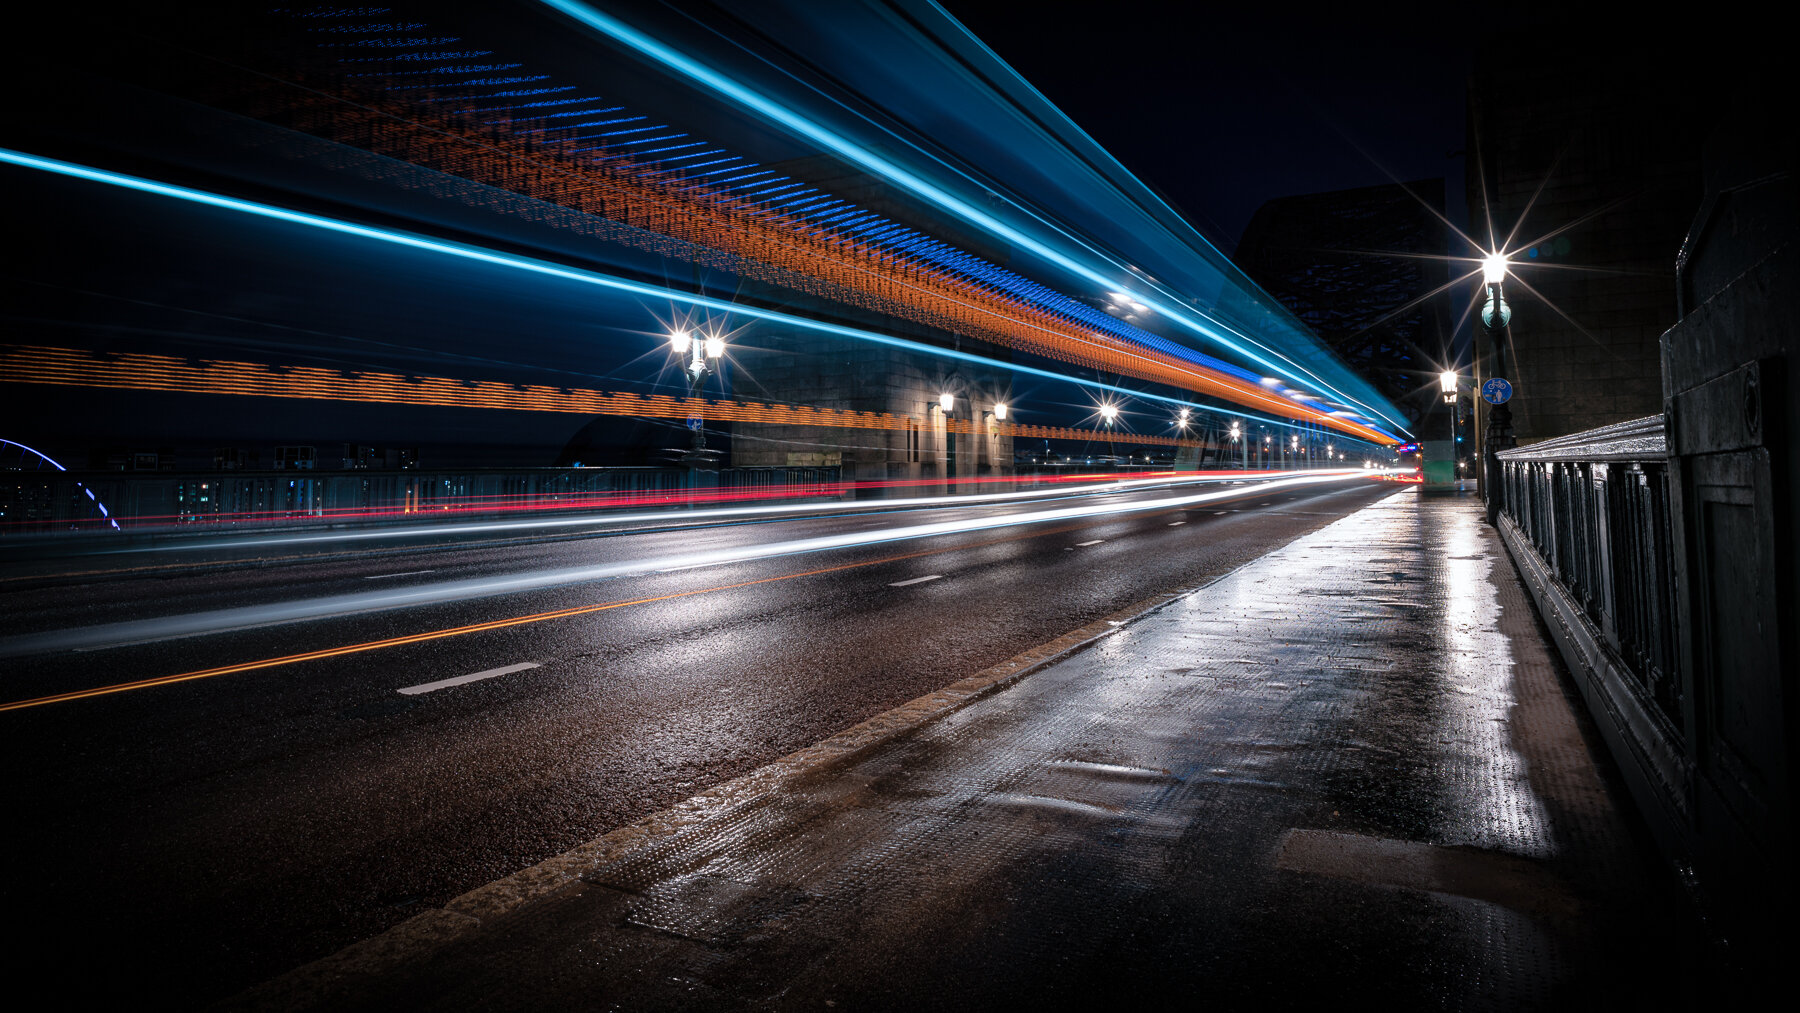
I’m a particular fan of water in my long exposure photography as it can take on a new dimension once the longer shutter speed smooths it. Equally interesting for some are the light trails caused by a light source moving across the sensor whilst the shutter is open. Be it vehicle traffic, fireworks, sparklers, light painting with a head torch or burning wire wool. Once you have the basics dialled in, it’s just a matter of lengthening the exposure time until you get the desired effect.

A bus travelling across the Tyne Bridge
ISO 50
21mm
f10
10.0 seconds
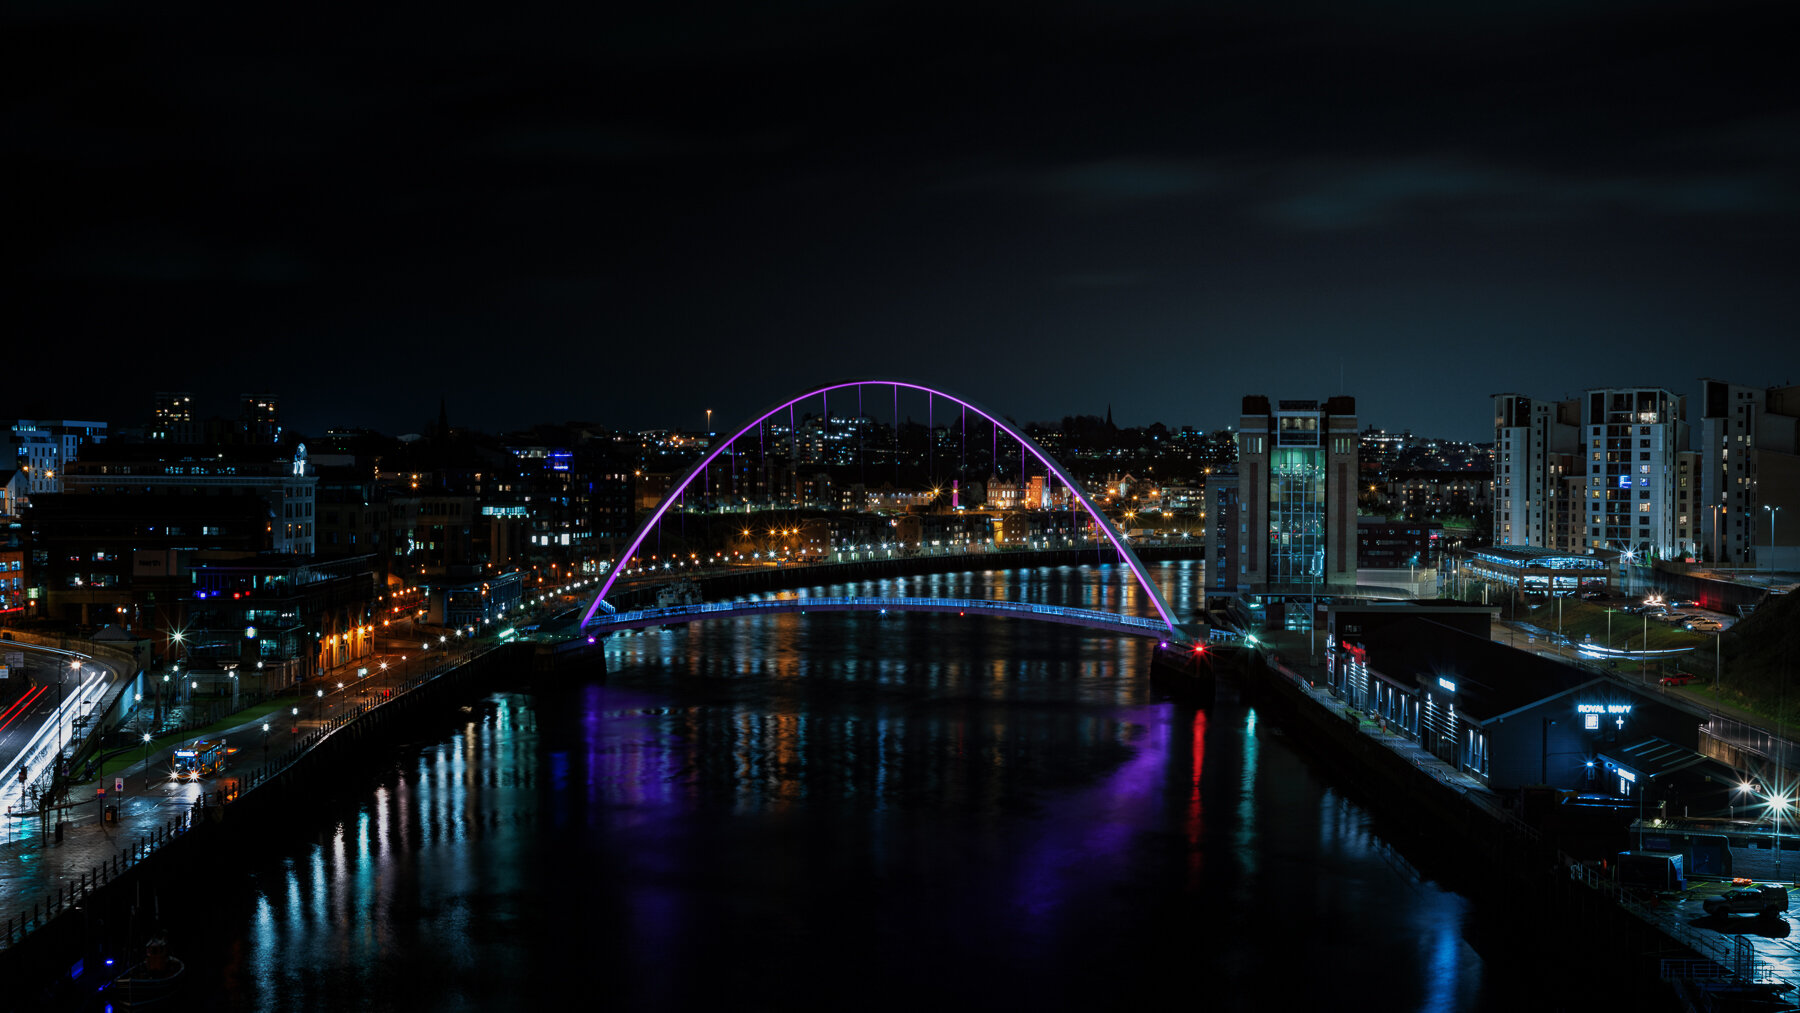
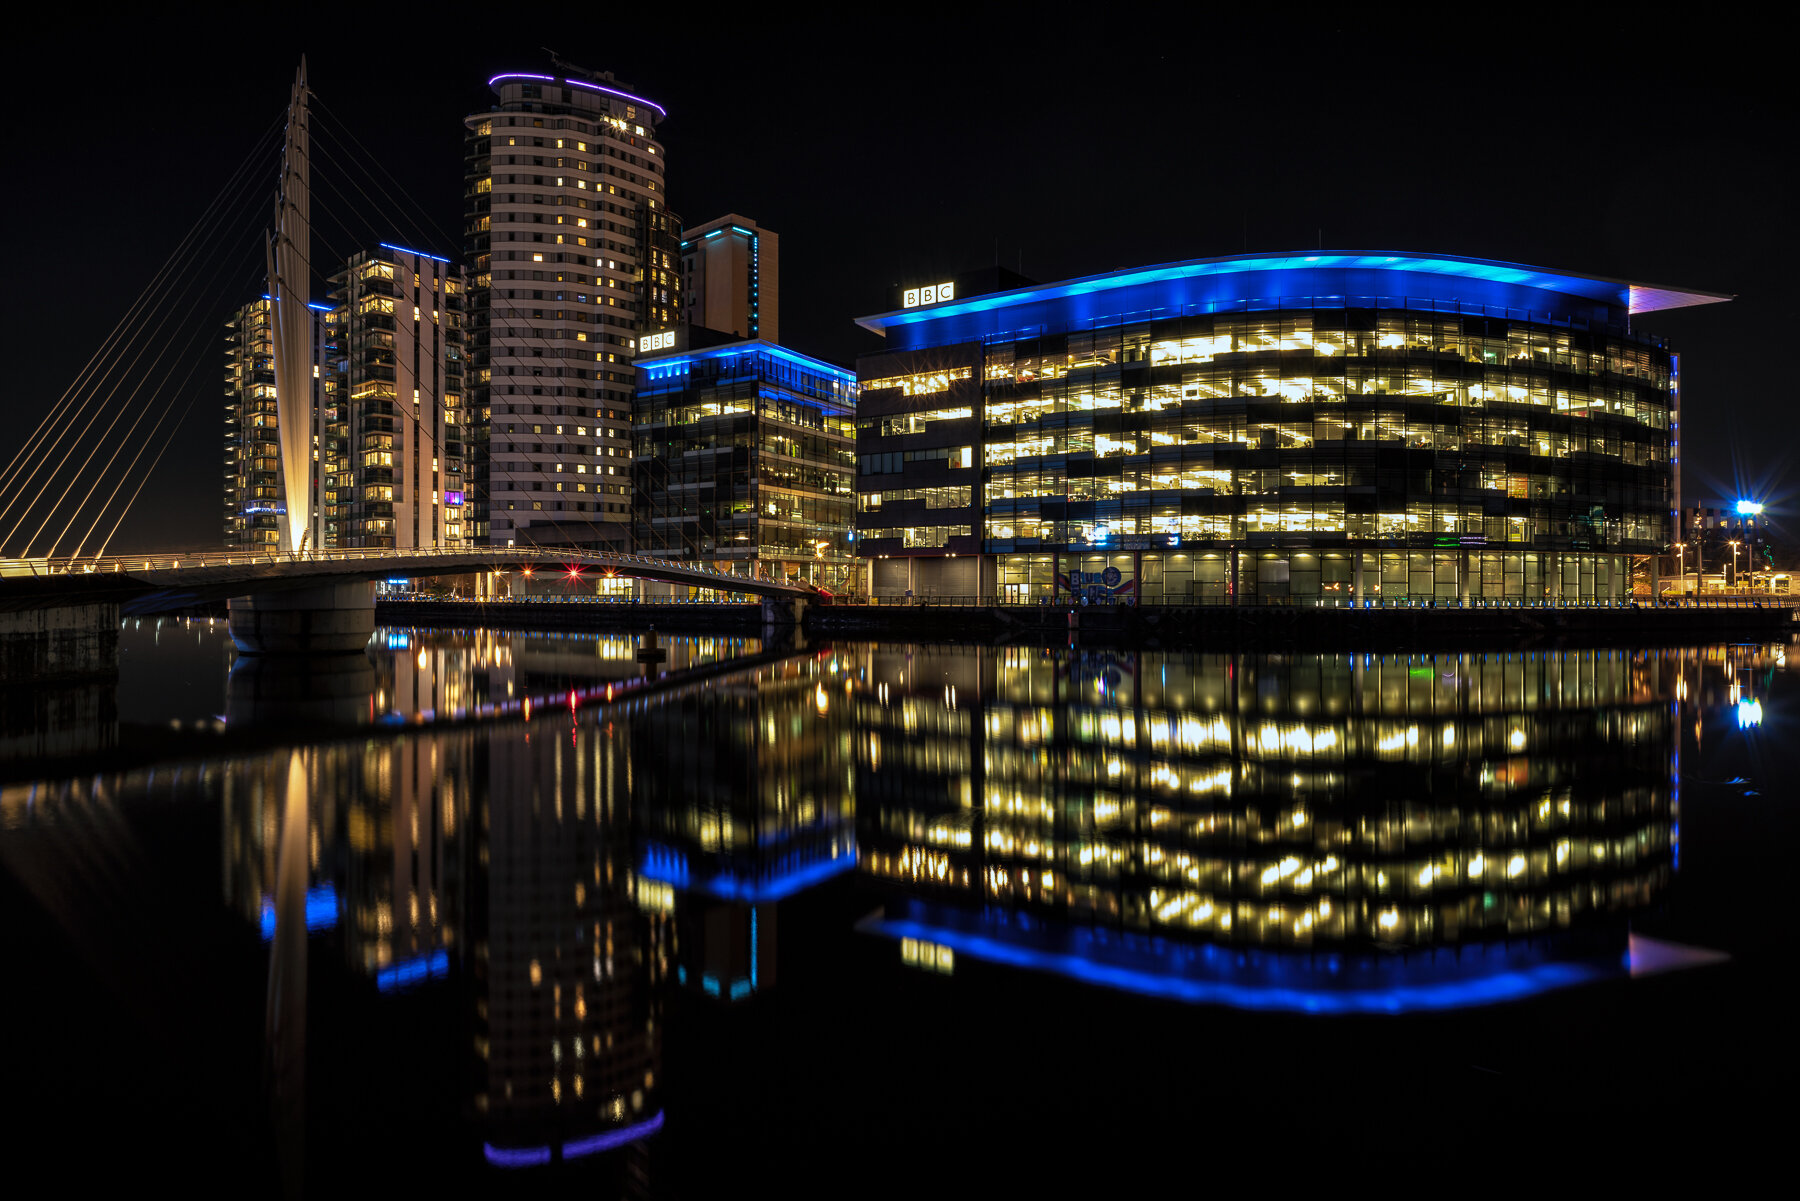
Below are a few more of the images from the nights in Newcastle, London and Manchester.
Long Exposure Kit List:
Tripod:
A crucial part of long exposure photography is being able to stop any movement in your camera during the exposure. This means a good quality, sturdy tripod is essential. It doesn’t have to break the bank though. There are several good quality cheaper brands out there. Consideration should be given to where you intend to use it though. A heavy tripod will be no fun to lug into the mountains, whereas an aluminium one will corrode if used in saltwater and a lightweight one will need weight adding to add stability in an windy location or on soft ground.
Camera Body:
Although any Camera with a timer function will work, one that is weather sealed would be preferable especially if you are looking to use interchangeable lenses. This can help to limit the impact of working in unforgiving enviroments and conditions. water, dust and humidity all have a negative impact on both the camera life and the image quality. Secondly, the dynamic range of a camera will dictate just how much information from the scene the camera can take in. The higher the dynamic range the greater it’s ability to record information in the shadows and highlights which can be invaluable when it comes to post processing.
Lens:
There’s no right or wrong lens to have. It’s all down to personal preference and the type of shot/composition you want. I tend to favour a fixed 21mm prime lens but many people go wider, use zoom lenses or use longer focal lengths. It really doesn’t matter as long as the focus is good and the lens remains still. With this in mind, having lens with a manual focus can help so that the camera doesn’t hunt once filters are in place.
Remote Shutter:
A cable release or remote shutter are essential pieces of kit. Allowing the photographer to open the shutter without touching the camera and leave the shutter open for as long as required for the correct exposure. I have a cable release but also use an app on my phone called Camrote which allows me to connect to my camera’s WiFi and utilise the liveview function during the exposure.
Mobile Phone (photopills/GPS):
I find my phone invaluable. I use it to plan my shoot location, calculate my exposure times, act as a remote shutter release, light my camera in the dark, and simply work out how best to get to the next location using the maps.
Filters:
First up is the circular polarizer. A brilliant tool for adding saturation to your images as well as its primary function of removing reflections from water, glass, leaves and other reflective non metallic surfaces. In addition to this depending on the time of your intended shoot, you may need a neutral density filter to help increase the length of the expose are allow more light in over a longer period of time. Finally if you’re looking outside of the city, e.g. the coast or mountains, you may need a graduated ND filter in order to help balance the exposure of the sky and the foreground.
I use:
LEE Circular Polarizer
LEE Big Stopper
LEE Little Stopper
LEE 0.3, 0.6, 0.9 Soft Grad ND Filter
Lens Brush/cloth/blower:
A constant problem when moving from one location to another or changing lenses and filters is dust, rain or smears or the lenses or filters. I find a blower really useful if i have to change a lens and am worried that I may introduce dust. I also carry and lens pen, lens wipes and cloths for both the lenses and the filters to make sure they are clean before each exposure. These can all be bought cheaply at any camera shops or online and should be part of any photographer’s kit.
Headtorch:
If you’re planning on being out at night, you won’t always be in a well lit area and so a headtorch is an essential piece of kit. Headtorches are brilliant for photography as they allow you to keep your hands free for setting up your shot or keeping your hands warm when walking to or from locations in the colder months.